Pro Seal AZ
Avoid These Pitfalls: How to Prevent Common Mistakes in DIY Paver Sealing
Alright, so if you’ve got pavers in your yard, you probably already know how important it is to keep them in good shape. Sealing your pavers isn’t just about making them look nice—it actually helps protect them from all the wear and tear they get from the sun, rain, and dirt. It’s kind of like putting a coat of armor on them to keep them safe from the elements.
Now, I totally get the appeal of doing it yourself—it can be really rewarding to see the transformation when you take care of your own space. But here's the thing: DIY paver sealing can be a little tricky. It’s not as simple as just pouring some sealant and hoping for the best. There are a lot of things that can go wrong if you don’t know the right steps to follow.
That’s exactly why I wanted to write this post—to help you avoid the common mistakes that a lot of DIYers make. I’m going to walk you through the most common pitfalls so you can get your pavers sealed like a pro and make sure the job lasts. Sound good? Let’s dive in!
Common Mistakes in DIY Paver Sealing
Let’s talk about the most common mistakes people make when sealing their pavers. I’ve seen a few folks run into trouble, so I want to make sure you don’t fall into the same traps!
1. Not Properly Cleaning the Pavers Before Sealing
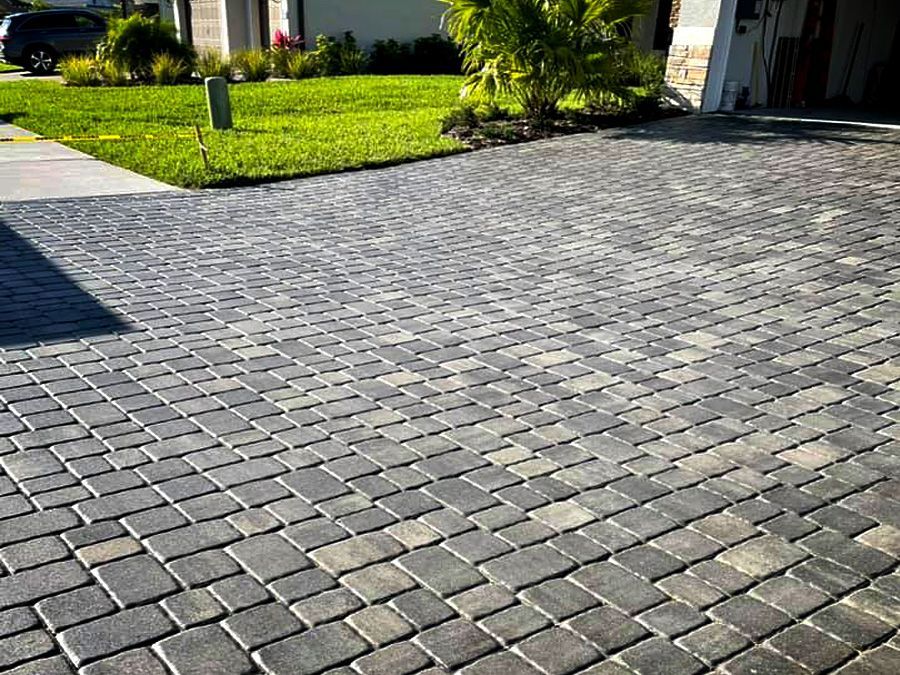
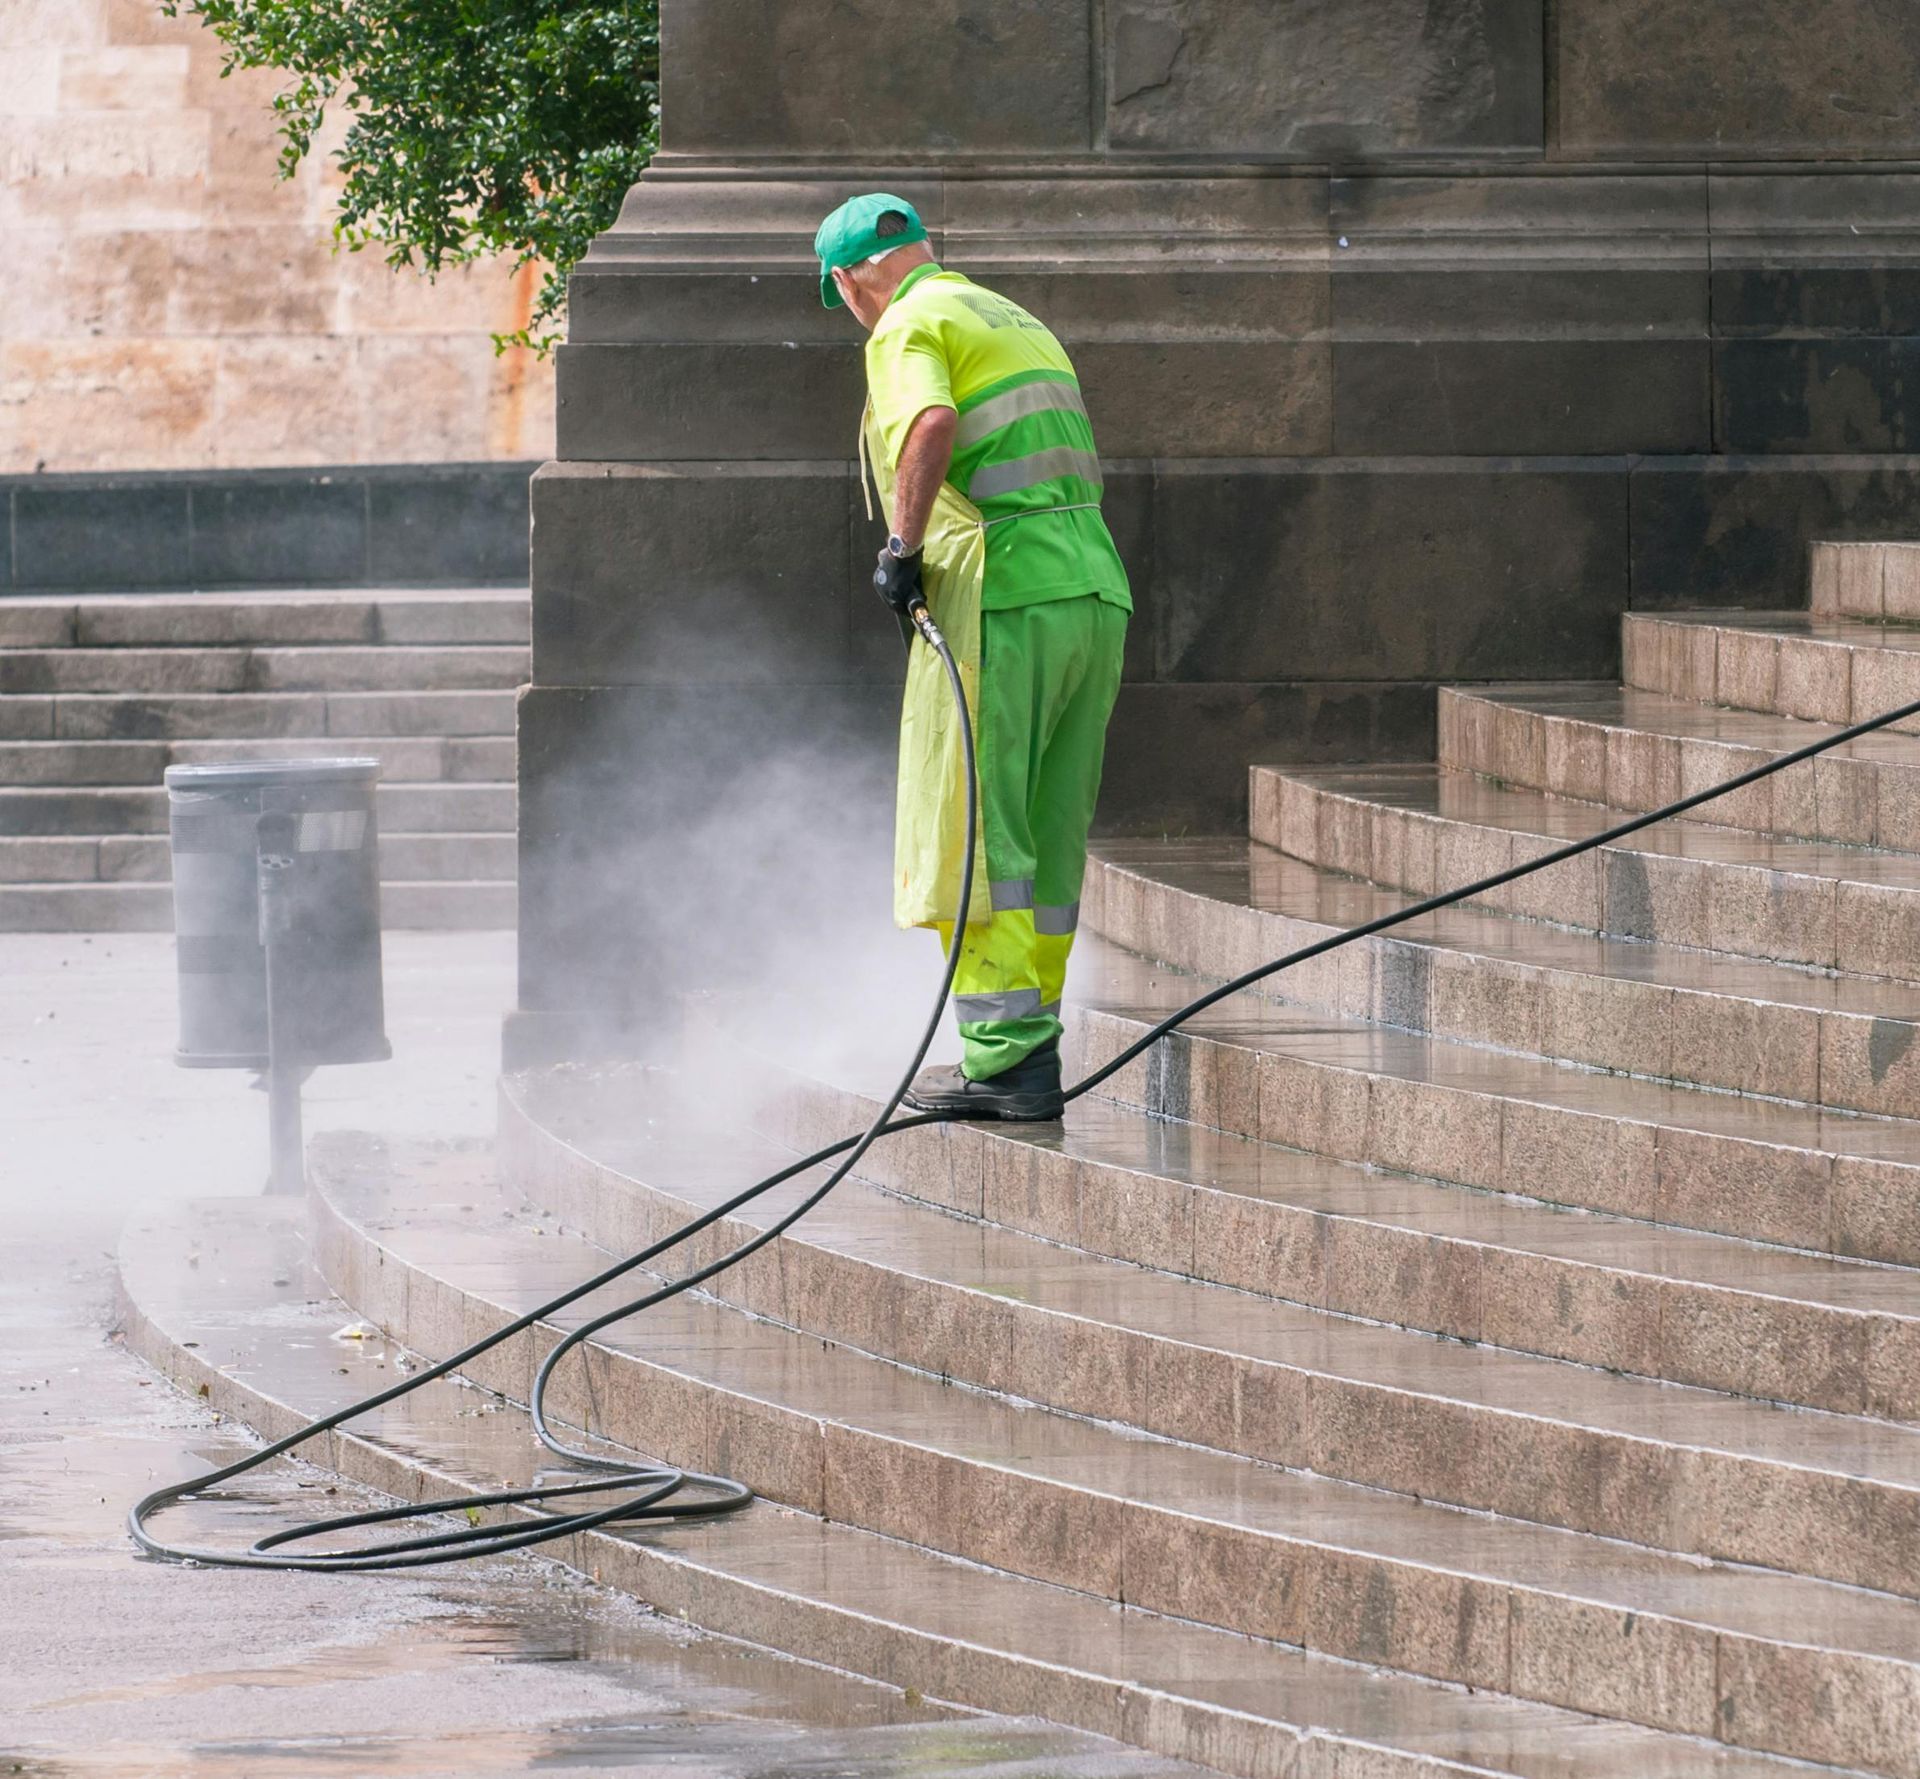
This one is huge. Think about it: if you’re about to put a protective layer on your pavers, you want to make sure it’s going on a clean surface, right? If there’s dirt, stains, or debris on your pavers, the sealant won’t stick properly, and you could end up with uneven results. Pressure washing is definitely the most effective way to clean your pavers—just be careful not to use too high a pressure, or you could damage them. If you don’t have a pressure washer, a good old-fashioned scrubbing with a stiff brush and some cleaning solution will do the trick, but it’s more time-consuming.
2. Using the Wrong Type of Sealant
There are a ton of different sealants out there, and choosing the wrong one can make your pavers look weird or even cause them to deteriorate faster. For Arizona’s climate, you’ll want to go for a sealant that’s UV-resistant because of the intense sun here. You’ve also got options like matte, glossy, or penetrating sealants. A glossy finish looks great, but it can show dirt faster, while a matte finish hides it better. If you go with a penetrating sealant, it’ll seep into the pavers and protect them from the inside out. Make sure you pick the one that suits both your aesthetic preferences and the harsh Arizona elements.
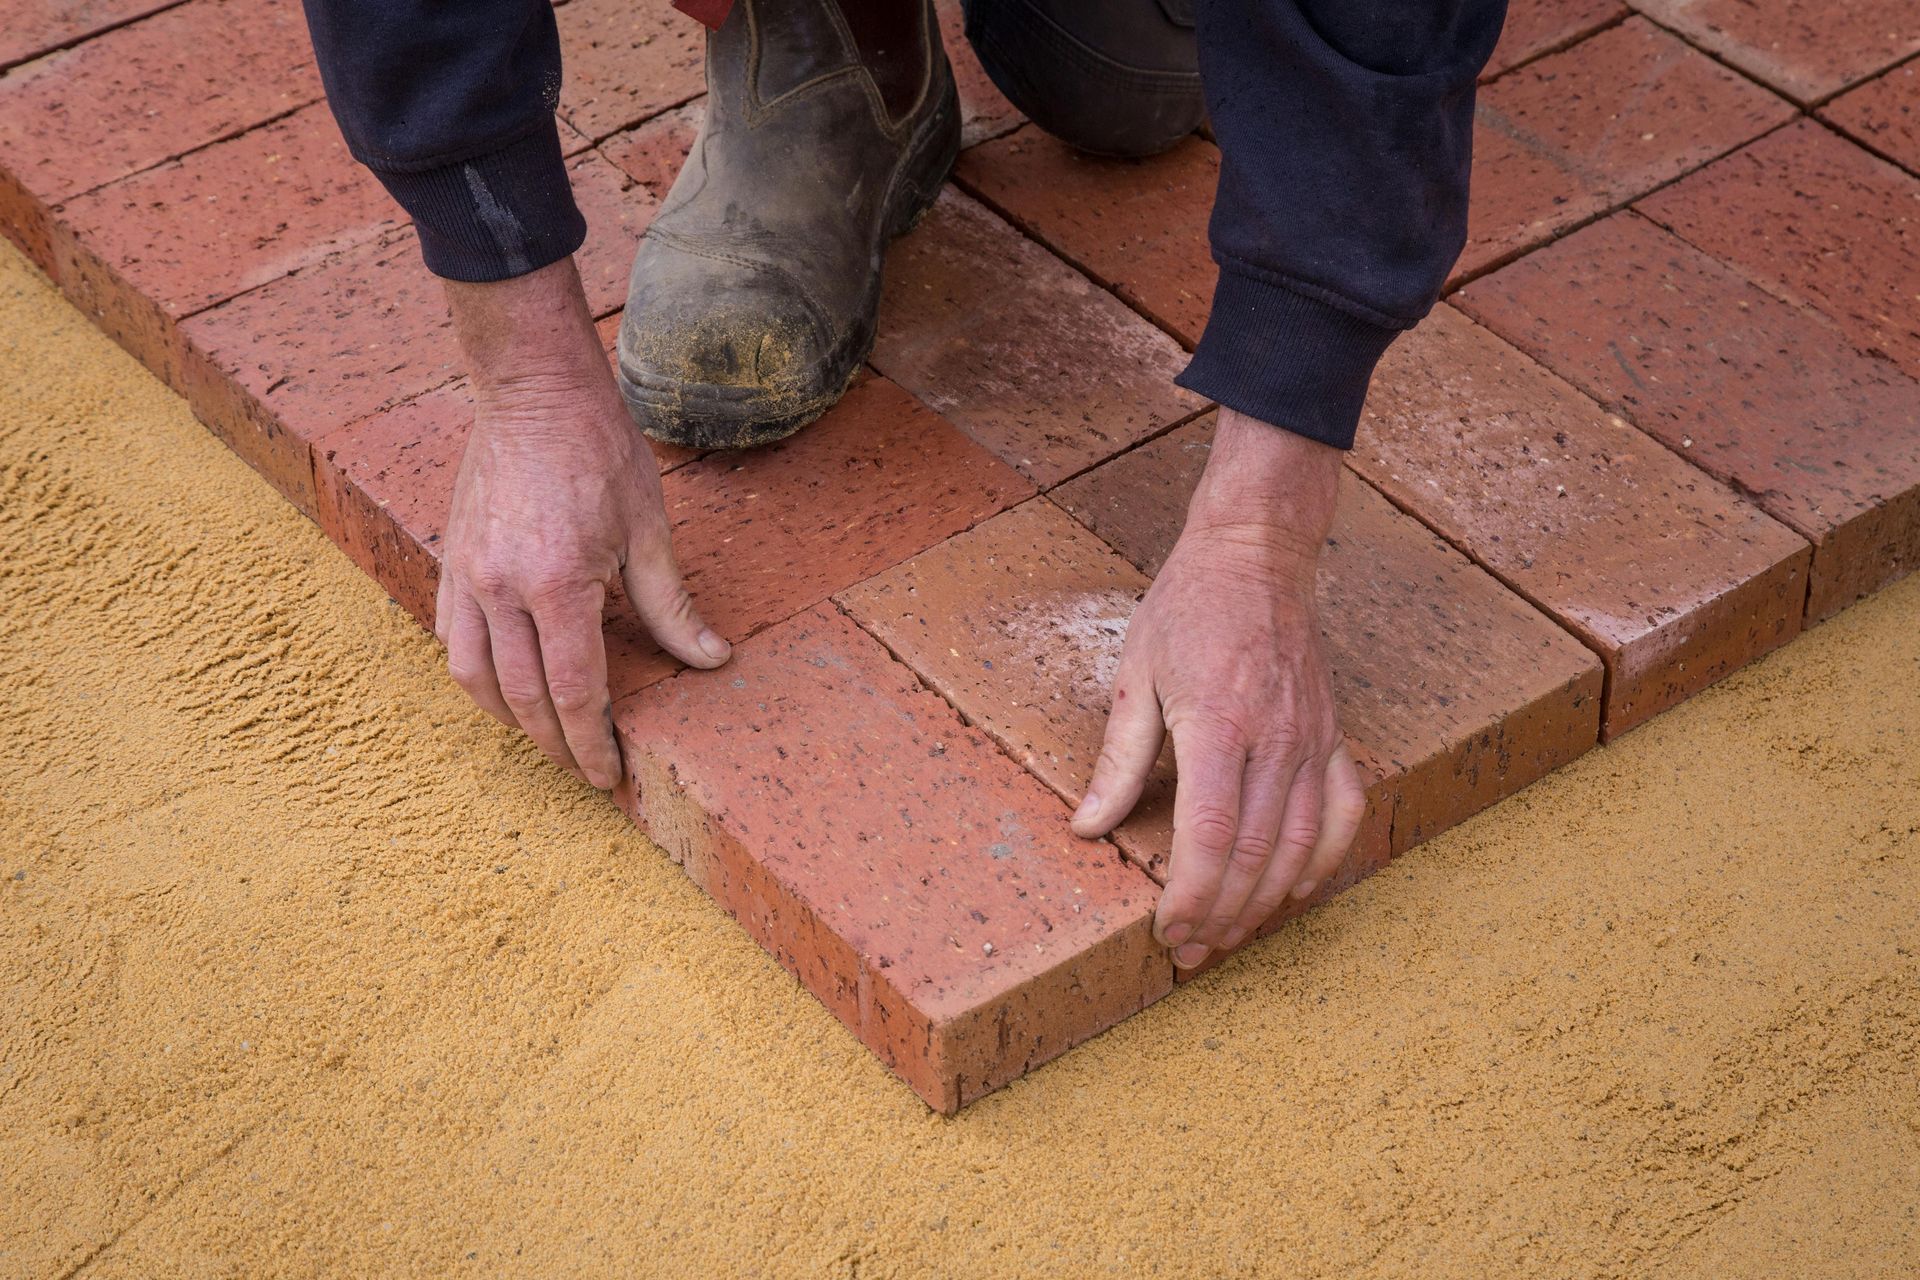
3. Skipping the Sanding Process
I know it sounds like a small thing, but if you skip replenishing the sand between your pavers, you’re asking for trouble. Over time, the sand in the joints can wash away, leaving your pavers loose. When that happens, your pavers can shift, and weeds will start poking through. Adding fresh sand between the pavers and sweeping it in before sealing helps keep everything in place and prevents that weed situation from getting out of hand. Trust me, it’s worth the extra step.
4. Applying Sealant in Too Hot or Wet Conditions
Here’s a tip: don’t seal your pavers when it’s too hot or rainy. Arizona summers can get scorchingly hot, and while you might think the sealant will dry quickly in the heat, it actually causes the sealant to dry too fast, leading to streaks and uneven coverage. You also want to avoid sealing when it’s raining or too humid because the moisture can mess with the adhesion of the sealant. The ideal time? A mild day, not too hot or cold, with no rain in the forecast for a while.
5. Uneven Application of Sealant
If you don’t apply the sealant evenly, you’ll end up with blotchy areas, and no one wants that. Too much sealant can leave thick spots, while too little will result in areas that aren’t properly protected. To get an even coat, you’ll want to use a roller or sprayer—make sure you’re covering the whole surface, but don’t overdo it. Work in small sections, and always follow the manufacturer’s instructions for best results.
6. Not Allowing Enough Drying Time
This is a biggie. After you apply the sealant, you need to give it enough time to dry and cure. If you walk or drive on your pavers too soon, the sealant can get messed up, and you’ll have to do the whole thing over again. It’s tempting to rush the process, but trust me, it’s worth waiting at least 24 hours before using your pavers—sometimes longer, depending on the weather. Give the sealant time to fully bond and dry so you get that perfect, durable finish.
So there you have it! Avoid these common mistakes, and you’ll be well on your way to sealing your pavers like a pro.
How to Avoid These Mistakes
Okay, now that we’ve talked about the common mistakes to avoid, let’s dive into a step-by-step guide for getting everything ready and doing it the right way. I’ll walk you through each part so you can seal your pavers like a pro.
1. Step-by-Step Guide for Preparation
First things first, you need to clean your pavers really well. And I’m talking about a deep clean. Dust, dirt, and debris can get trapped in the crevices, so make sure you get every inch. The best way to do this is with a pressure washer. It’s super effective at getting rid of all the grime without damaging the surface, just make sure you’re not using too high a pressure. If you don’t have a pressure washer, you can scrub the pavers with a stiff brush and some cleaning solution—it’s just going to take a bit more elbow grease. After that, give your pavers time to dry out completely before moving to the next step.
When it comes to choosing the right sealant, think about what will work best for Arizona's heat. You’ll want a UV-resistant sealant, especially if your pavers are in direct sunlight. Glossy finishes look great but can show dirt quicker, while matte finishes tend to be a bit more forgiving and can make the pavers look cleaner for longer. Also, keep in mind whether you want a penetrating sealant (which goes into the pavers and protects them from the inside) or a surface-level sealant that coats the top.
2. Correct Sanding and Surface Prep Tips
Once your pavers are clean and dry, you’ll need to make sure the joints between the pavers are in good shape. Over time, the sand that holds the pavers in place can wash away, leaving gaps. This is where you want to replenish the sand—just pour some sand onto the surface and use a broom to sweep it into the joints. Make sure the joints are filled and packed tightly. Once that’s done, use a leaf blower or broom to remove any excess sand from the paver surface. This prevents the sand from getting stuck in the sealant and keeps the finish smooth.
3. Weather Considerations
Now, before you start slapping on that sealant, you’ve got to check the weather. Arizona weather can be pretty unpredictable, so you don’t want to seal your pavers when it’s too hot, rainy, or humid. Ideally, you want to choose a day that’s in the mid-70s to low-80s with no rain in sight for at least 24 hours. If it’s too hot, the sealant will dry too quickly and leave streaks. If it’s too cold or humid, it won’t cure properly, which could cause issues later on. So, check the forecast and pick the perfect day to get the job done.
4. Proper Sealant Application Techniques
Alright, here comes the fun part—applying the sealant. There are two main ways to do this: using a roller or a sprayer. If you’re using a roller, make sure it’s a long-handled one and that it’s designed for smooth, even application of liquids. Start in small sections and roll the sealant evenly over the pavers. Be sure to work in one direction so you don’t leave any streaks. If you’re using a sprayer, it’s a bit quicker, but you’ll want to make sure you’re holding it at the right height (usually around 12–18 inches above the pavers) and spraying in even passes to avoid any pooling.
5. Curing and Drying Tips
Now, the hardest part—waiting. I know it’s tempting, but you’ve got to give the sealant time to dry and cure properly. Depending on the temperature and humidity, you’ll want to wait anywhere from 12 to 24 hours before walking on the pavers. Avoid using them for things like parking cars or putting furniture back too early, or you risk messing up the finish. During this time, let the sealant fully set. And whatever you do, don’t rush it—giving it enough time will ensure that the protection lasts.
That’s it! If you follow these steps, you should have a beautiful, well-sealed surface that’ll last for years. Just remember, it’s all about prep work, choosing the right products, and taking your time. Good luck, and enjoy those freshly sealed pavers!
Benefits of Getting It Right
Alright, let me break down the main reasons why sealing your pavers is totally worth the effort:
1. Enhanced Aesthetic Appeal
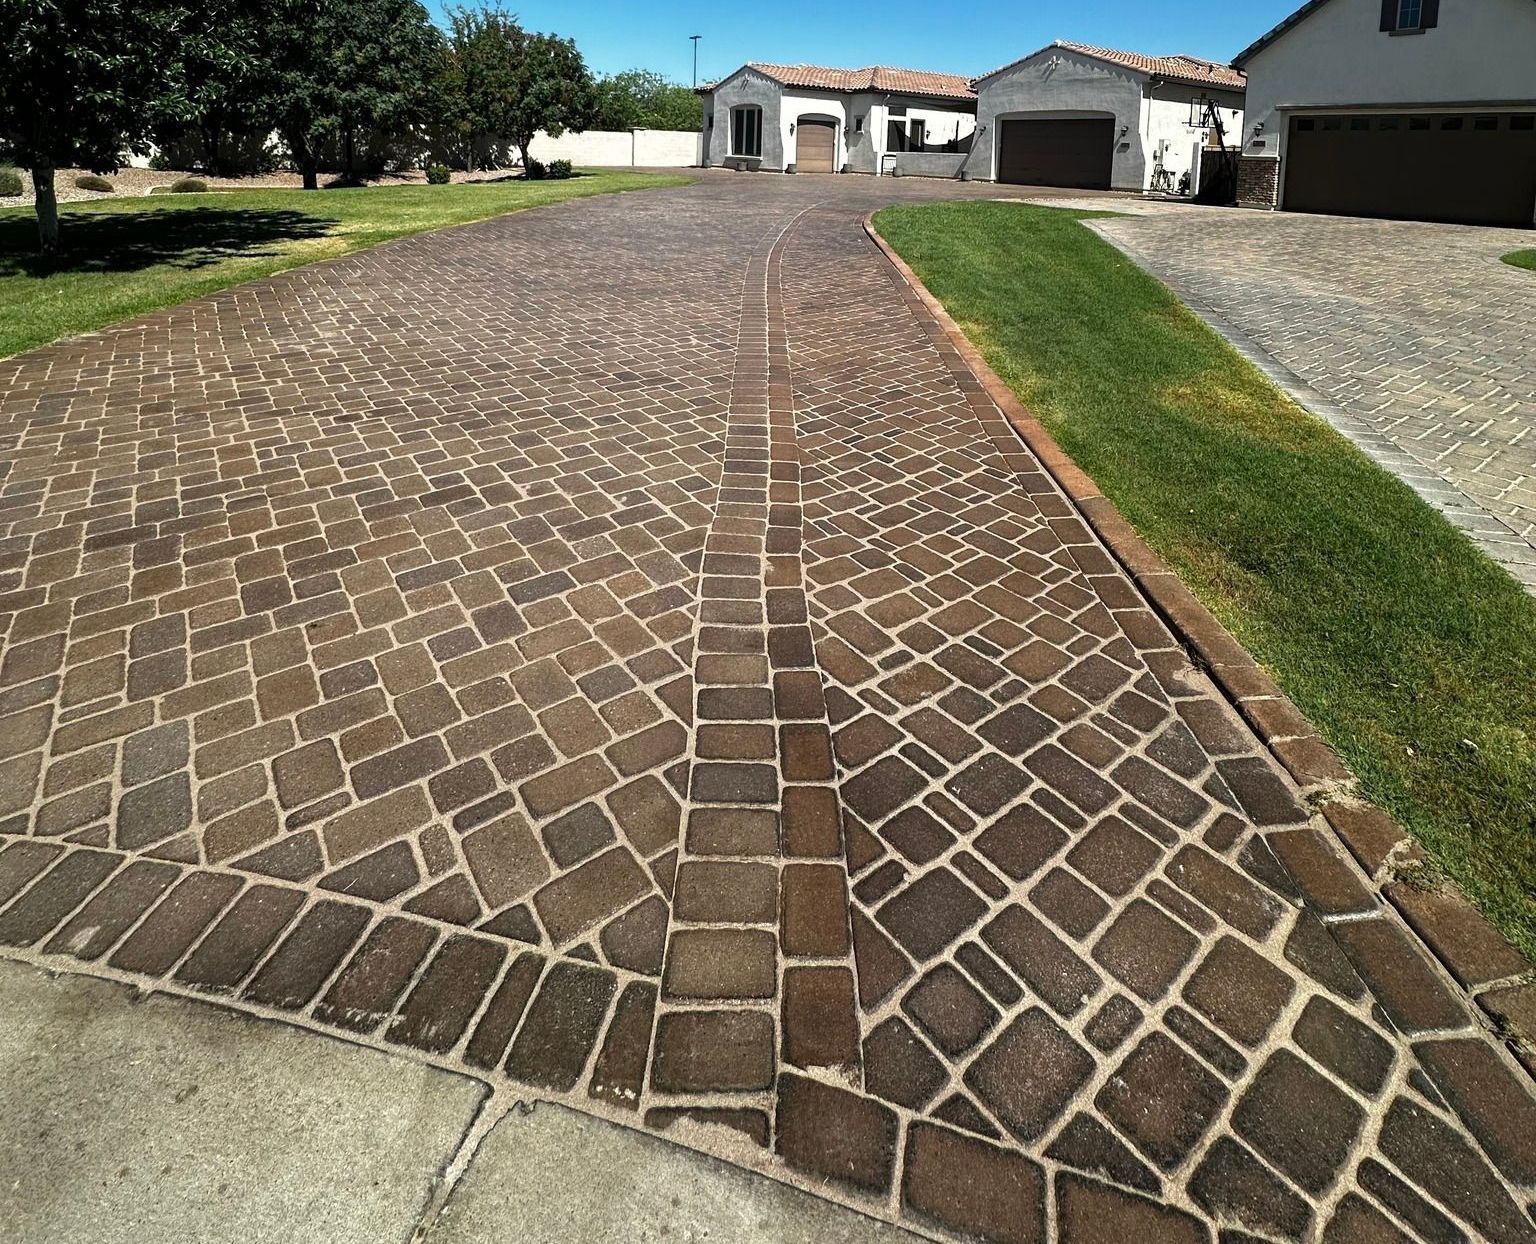
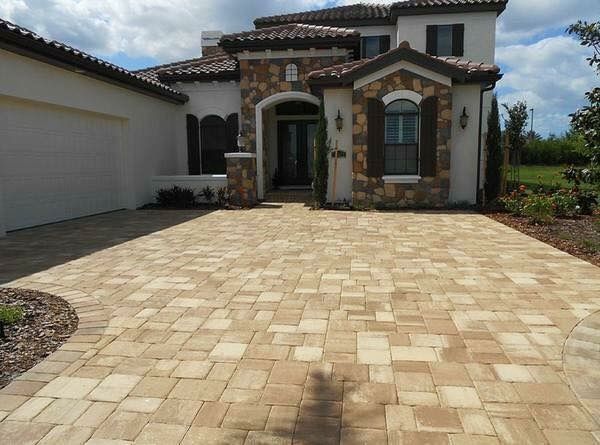
First off, it just makes your pavers look amazing. Sealing them brings out the color and gives everything a nice, polished finish. Whether you’re going for a matte or glossy look, sealing really boosts the overall appearance of your outdoor space. It’s like putting the finishing touch on a masterpiece. Plus, with the intense sun in Arizona, it helps prevent your pavers from fading and keeps them looking fresh for a lot longer.
2. Improved Durability and Protection from Arizona’s Harsh Climate
Let’s face it, Arizona weather is brutal on everything. The sun’s intense, we get dust storms, and then the monsoon rains come and wash everything away. But when you seal your pavers, it gives them an extra layer of protection against all of that. The sealant helps block out UV rays that would normally make your pavers fade and crack. It also helps prevent moisture from seeping in, so you don’t have to worry about the erosion or the growth of weeds in the joints. Basically, you’re making your pavers way more durable and able to handle whatever Arizona throws at them.
3. Long-Term Savings by Avoiding Premature Repairs and Re-Sealing
Here’s the real kicker: sealing your pavers can save you a lot of money down the road. It’s like investing in the long-term health of your pavers. By sealing them properly, you’re preventing things like staining, cracking, or weed growth, which means you won’t need to spend money on expensive repairs or re-sealing sooner than you would like. Instead of constantly having to fix things, you’ll be able to enjoy your outdoor space for years without worrying about costly upkeep. Plus, the time and effort you put into sealing them now will pay off later when they last much longer.
So yeah, sealing your pavers isn’t just about making them look good—it’s about protecting your investment and saving you time and money in the long run!
Conclusion
Alright, so here’s the deal: sealing your pavers is a great way to enhance their look and protect them from Arizona’s tough weather. But, like we talked about earlier, it’s really important to avoid those common DIY mistakes. Whether it’s skipping the cleaning, choosing the wrong sealant, or applying it in the wrong conditions, these little things can make a big difference in the long run.
If you follow the tips we’ve covered—like taking the time to prep your pavers properly, choosing the right sealant, and making sure everything dries and cures like it should—you’ll end up with a beautiful, durable finish that’ll last for years. It’s really all about putting in that extra care upfront so you don’t have to worry about doing repairs or re-sealing anytime soon.
But hey, if all of this sounds like a lot of work or you’re just not sure you’ve got the time or patience for it, you always have the option to hire a pro. Professionals know exactly what they’re doing, and they’ve got the right tools and experience to ensure everything’s done perfectly. Plus, it gives you peace of mind knowing that your pavers will be in great shape for a long time.
So, whether you decide to go the DIY route or call in the experts, just remember to take your time and follow the steps to get the best results. Your pavers will thank you!